Welcome back to Messy STEM! This week I will be continuing my coding theme and focusing on designing video games. The software I use for this is called Gamemaker Studio 2. Let me start by saying this is an authentic software. It has been used to create a wide variety of popular video games including Undertale, Hyperlight Drifter, and Forager. This software allows games made with it to be published on every platform including Steam, Nintendo and Playstation. That alone I have found is enough to get kids excited. I have yet to have a student not tell me what they’re going to do with their millions of dollars once they upload their games and start selling them.
Whenever I teach this software I am always amazed and motivated by the different and creative things students come up with. They can really dive in to the software and mess around with different coding concepts.
I also want to state that there are a ton of resources for this software made specifically for educators and a lot of great youtube tutorials out there. So, if you finish reading this and want to learn please let me know and I will be happy to share resources I’ve liked, as I learned the software!
Over the course of this post I will be showing a quick run through of how the software looks and some basic things you can try out yourself. I know that I will be glossing over some steps but my main goal here is to show how the software looks/feels and to present you with a resource you might not have known of before this.
The photo below shows what Gamemaker Studio 2 looks like it when you open it up and sign in. For those of you wondering, the software is the same in Windows and Mac, so though I am showing this through Mac you can still learn and try it through Windows
Once you open up Gamemaker, it gives you the option to create a new project with either drag
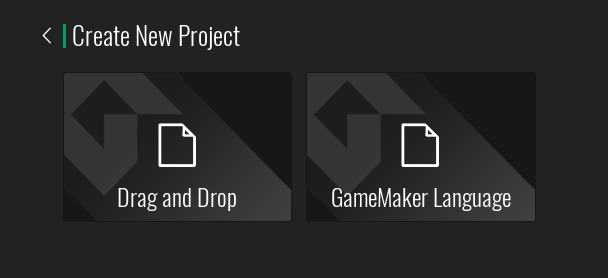
and drop code options (similar to those on Scratch for example) or GameMaker Language which involves writing the code. I have always preferred the code! It’s what I will be writing about today.
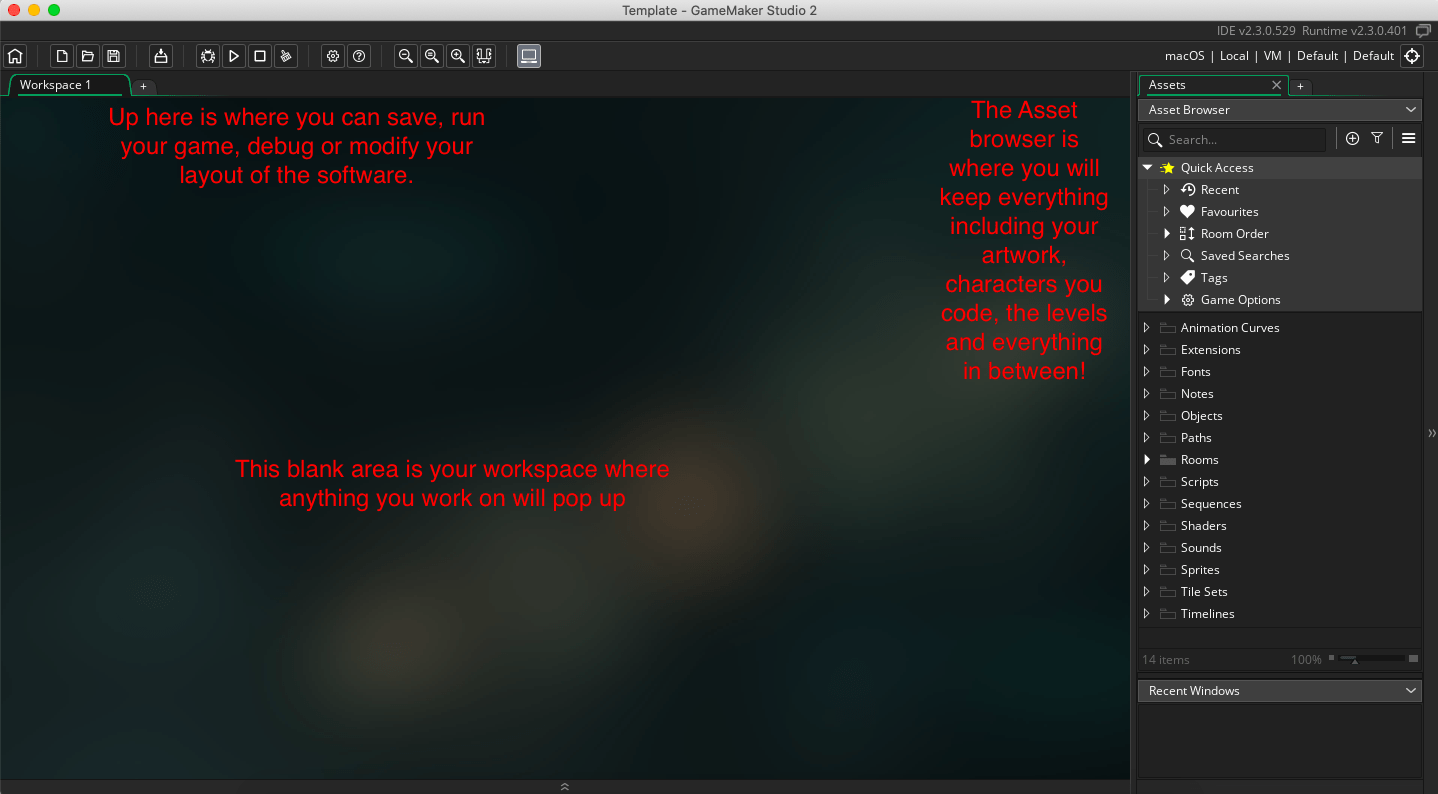
Once you start a new project, don’t be overwhelmed by what you see! This is a professional software but it is very straightforward! Below is a summary of what you will see.
In the spirit of Halloween I thought I would do some spooky examples!
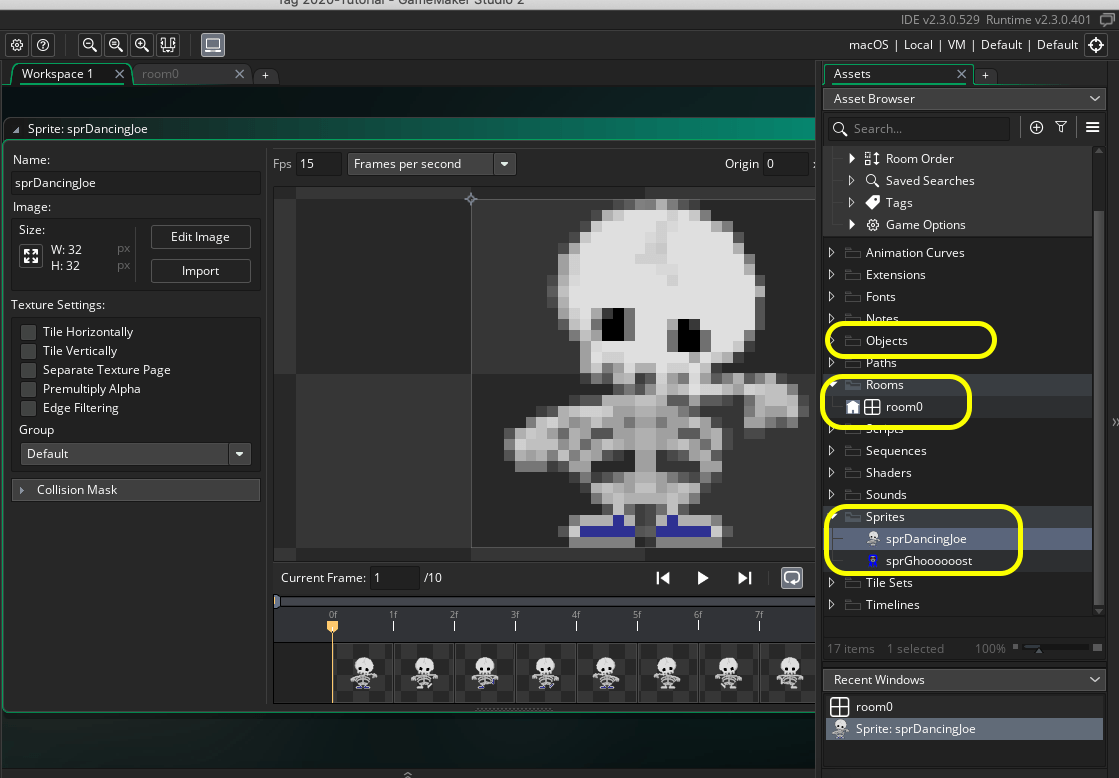
The main things you will work with initially are Objects, Rooms and Sprites. These are all things you will find in the left sidebar above.
Sprites are where you store your artwork for your game. This can include animations and gifs. It’s important to remember that a Sprite is not something you program, it is what you attach to what you have programmed. Below is a photo where I have selected my sprite, a dancing skeleton. In it I have painted a bit over my skeleton’s feet. It also shows the series of images that will be played on repeat to animate my character. In Gamemaker Studio 2 you can design and draw characters within the software or import images from your computer. In this case I used free graphics to upload a dancing skeleton gif. To make a new sprite simply click the Sprite category and select add new sprite.
Rooms are essentially your levels, they are your backgrounds. Anytime your character goes to a new place or a new level, they go to a new room.
Objects are the parts of your game that you actually program.
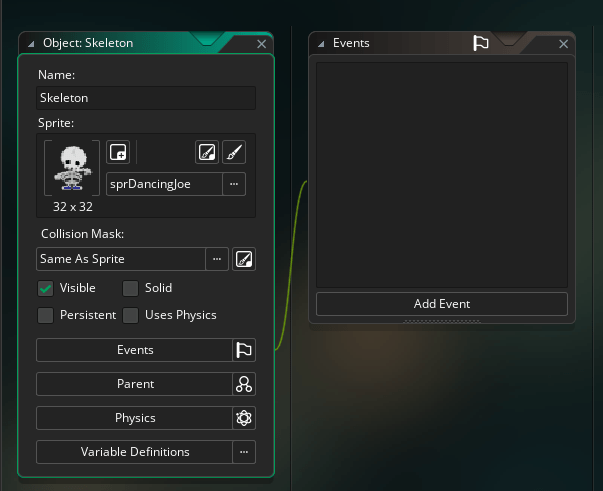 These would be your characters, bad guys, walls, etc. Basically, anything you want to respond in any way, you will make in to an object. In this case I have made an object named Skeleton. Once you make the Object (just double click Objects in the asset bar shown above, click and select make new object) you then can attach the artwork you saved in the sprite section, which was my dancing skeleton gif.
Once you make an object you will then be given the option to select it and begin programming! Above you can see my Skeleton and that I have attached the sprite/artwork to it. The next thing that pops up are Events. Events are essentially where you program coding and reactions of your object.
As I mentioned in my previous post, computers are not mind readers, when programming you need to consider every aspect of what you want to happen. In this situation I want my character to move to the right when I press the right arrow key. So to do that I clicked Add Event, and Key 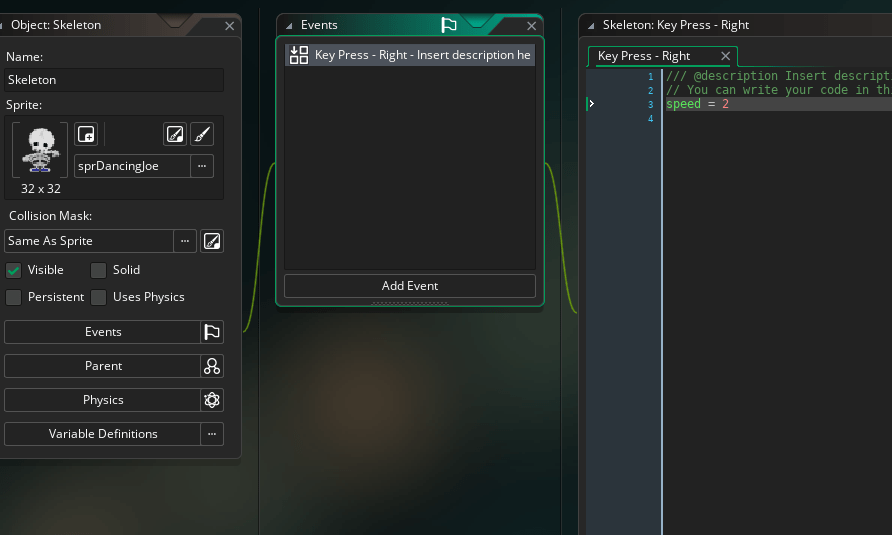 Press, then Right. After that you will see on the right the place where you can type in your actual code. To keep things simple I wrote in ‘speed = 2;’
What I have basically said is, when I press the right key I want my skeleton to move to the right at a speed of 2. If I wanted him to move to the left I would do select left arrow key and have the same code but my speed would be -2.
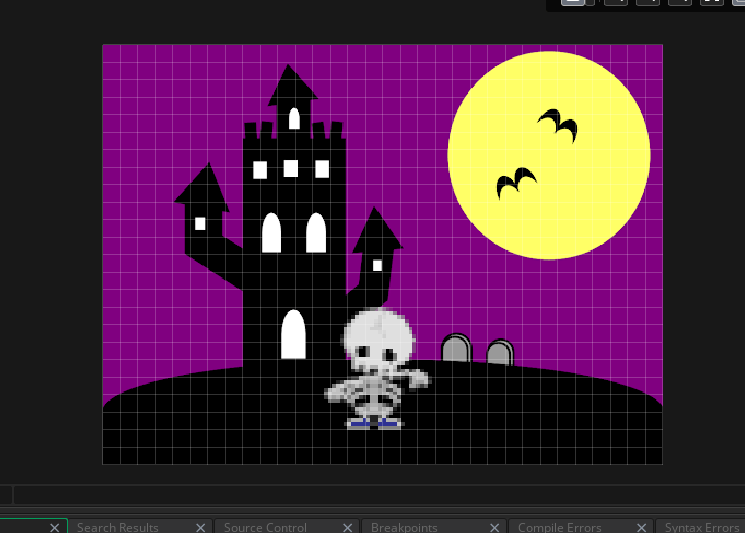 The next thing I did was work on my room, I decided to create a spooky sprite and select that as the background in my ‘Room’. After making my room, the next thing you can do is drag your objects in to your room. You can then press the play button on the top bar to run the software and see what the game looks like!
Here is a sample of what our spooky skeleton looks like.
This was just a basic run through of some simple concepts. Often I start this software by teaching students to make a game of tag where characters throw food at each other. In it we can do different things like set up a score and special affects. Here is another silly sample!
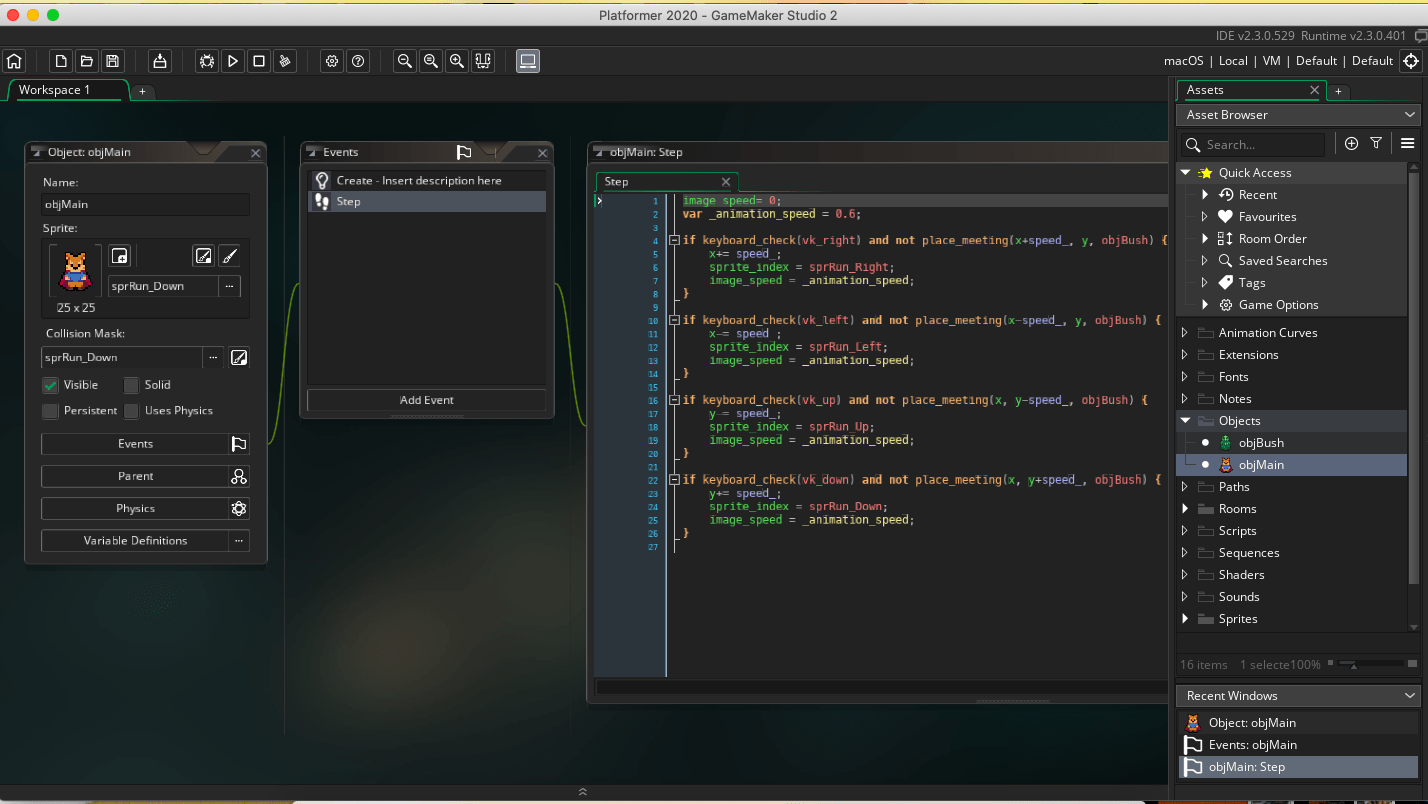
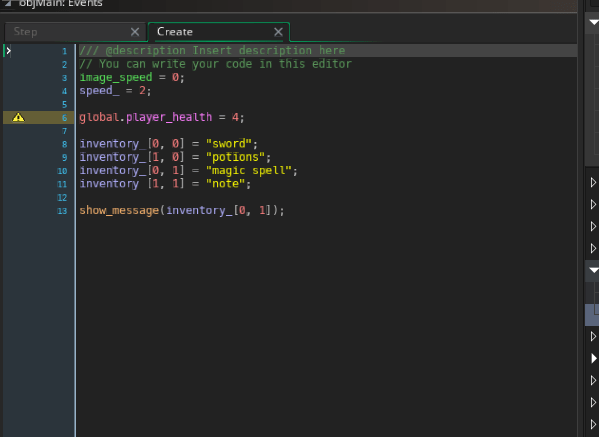
That being said you can easily go much deeper into this software. You can challenge your students to define and set their own variables and even define constants. Below is an example of a more complicated platformer game I have been messing around with based on some online tutorials. I also have a photo of an array I started that will allow my character to have an inventory!
I understand that this was a big post with a lot of information, but if I have interested you at all in this software and you want to try it out in your school please feel free to reach out to me and I will be happy to share resources and ideas. I also highly recommend the educator resources that this software offers.
I really hope you are all having a great week and that you have a great Halloween. My goal this year is to help you all get back into a hands-on STEM class where you can get messy, build things and break them. I believe this software is a great tool for that and I hope that it helps you as well!

