 We’re going to hit the pause button on the running/classroom reflection blog posts and take a little dive into what my classroom looks like a bit. We just finished our second F2F session and in true cohort nature, I was completely wiped out and extremely tired after. This tiredness does not come without its excitement–I got so much feedback and encouragement to write about what I do in my science classroom that I now feel inspired! I’ve never really been comfortable sharing what I do in the classroom (probably a mix of nervousness, embarrassment and overall worry about how others will perceive me as a “new teacher”). The positivity and kindness I received this weekend has really got me thinking today about pushing out of my comfort zone and talk about something that scares me to share: how I teach.
For the first time ever, I was interviewed for a podcast; more specifically, a podcast called Teaching Tomorrow hosted by none other than the lovely Celeste Kirsh. As a mini-preview, I’ll let you know, a topic we talked about was pushing out of our comfort zones. I guess I need to practice what I preach, so here goes!

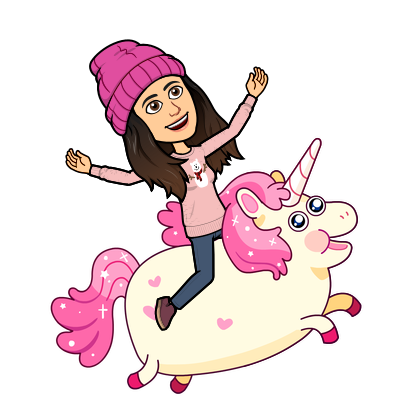
I hope this is what my students look like before class…
Let’s start with my class structure. Many of my students (and myself) are a creature of routine, so let’s dive into what my classroom looks like on a regular basis. The first 5-10 minutes are always attendance/announcements (important dates, upcoming science events), and then…whatever fun things we can think of. If we’ve been having a day, we might do a little dance, sing some karaoke or run up and down the stairs, just to burn some energy. Example karaoke songs include:

- Breaking Free
- The Cell Song
- The Hoedown Throwdown
- You’ll Always Find your Way Back Home
- Best of Both Worlds
- Three Little Birds
- Recent Favourite: All Star, because sometimes, we just need a little Shrek in our lives
Once we’ve shaken out all our sillies, we dive right in to the next most exciting 10 minutes of your life…REVIEW. This is a chance for students to catch-up, ask questions or just activate their little (or big) brain networks to remember what in the world we’ve done in science! We do a little short summary on the whiteboard, courtesy of my many colourful whiteboard markers of what students should remember and know from last class. No surprises. Something simple, quick, easy. Remember, this is just a warm-up, we aren’t stressing any brain muscles yet.

Just a small little warm-up. I apologize for the weird lighting, we dimmed the lights to help with my newly laser-ed eyes.
Once we’ve come out of the warm-up feeling strong, it’s time to roll into the core of the lesson. Be prepared for the next portion of the lesson to last anywhere between 20-40 minutes. This timing is generally activity based and depends a lot on our various moods of the day. If you’re curious how we talk about our moods, please take a little peak at the amazing Blob Tree. What number are you feeling today?

Head on over to the Blob Shop if you’re interested in this lovely resource!
In today’s grade 10 science class, our main activity was making CELL BRACELETS. Sounds exciting, right? Well, here’s the plot twist. The class was divided into three teams. Teams can try to earn “fun points” by answering questions and explaining the functions of organelles correctly. Teams with the highest fun points in a round of bead distribution get first choice in bead colours. Don’t worry, there are about ten solid rounds this class so you are surrounded by opportunity, colourful bead opportunity.
How might we use beads to illustrate how the organelles of a cell work together as a system?
“I am who I’m meant to be, this is me”
That was exactly my question when my coworker first suggested this activity to me last year. I would like to mention her here as I didn’t come up with this idea on my own from thin air. Now, I have edited this lesson a couple times to make it suitable to my teaching personality and class dynamics, but she did originally suggest using beads as a medium to communicate this idea. I probably didn’t phrase the question with the “HMW” language we learned this weekend at cohort, but somewhere along the way, I am sure I asked a question with that premise. Logistics, organization and delivery are the creative parts of this lesson that I change every year and also are aspects that make her class very different from mine. I think that’s awesome. We are two different people who are being genuine to who we are as teachers and keeping this lesson unique to who we are as people. We’re just humans too. I like tech so my classes are a little tech-centric.
Okay, back on track…making your bracelet! Here’s the fun–we look at the organelles of the cell and how they work together to breakdown glucose, convert it to a useful form of energy (ATP), use the energy to make proteins, and modify/transport proteins to where they are needed in the body. This is how a cell works as a system. Here is an example of one of the beads we might use to symbolize the process. Remember, we have 10 rounds for this activity, but for the sake of time, I’m going to hit the fast forward button.
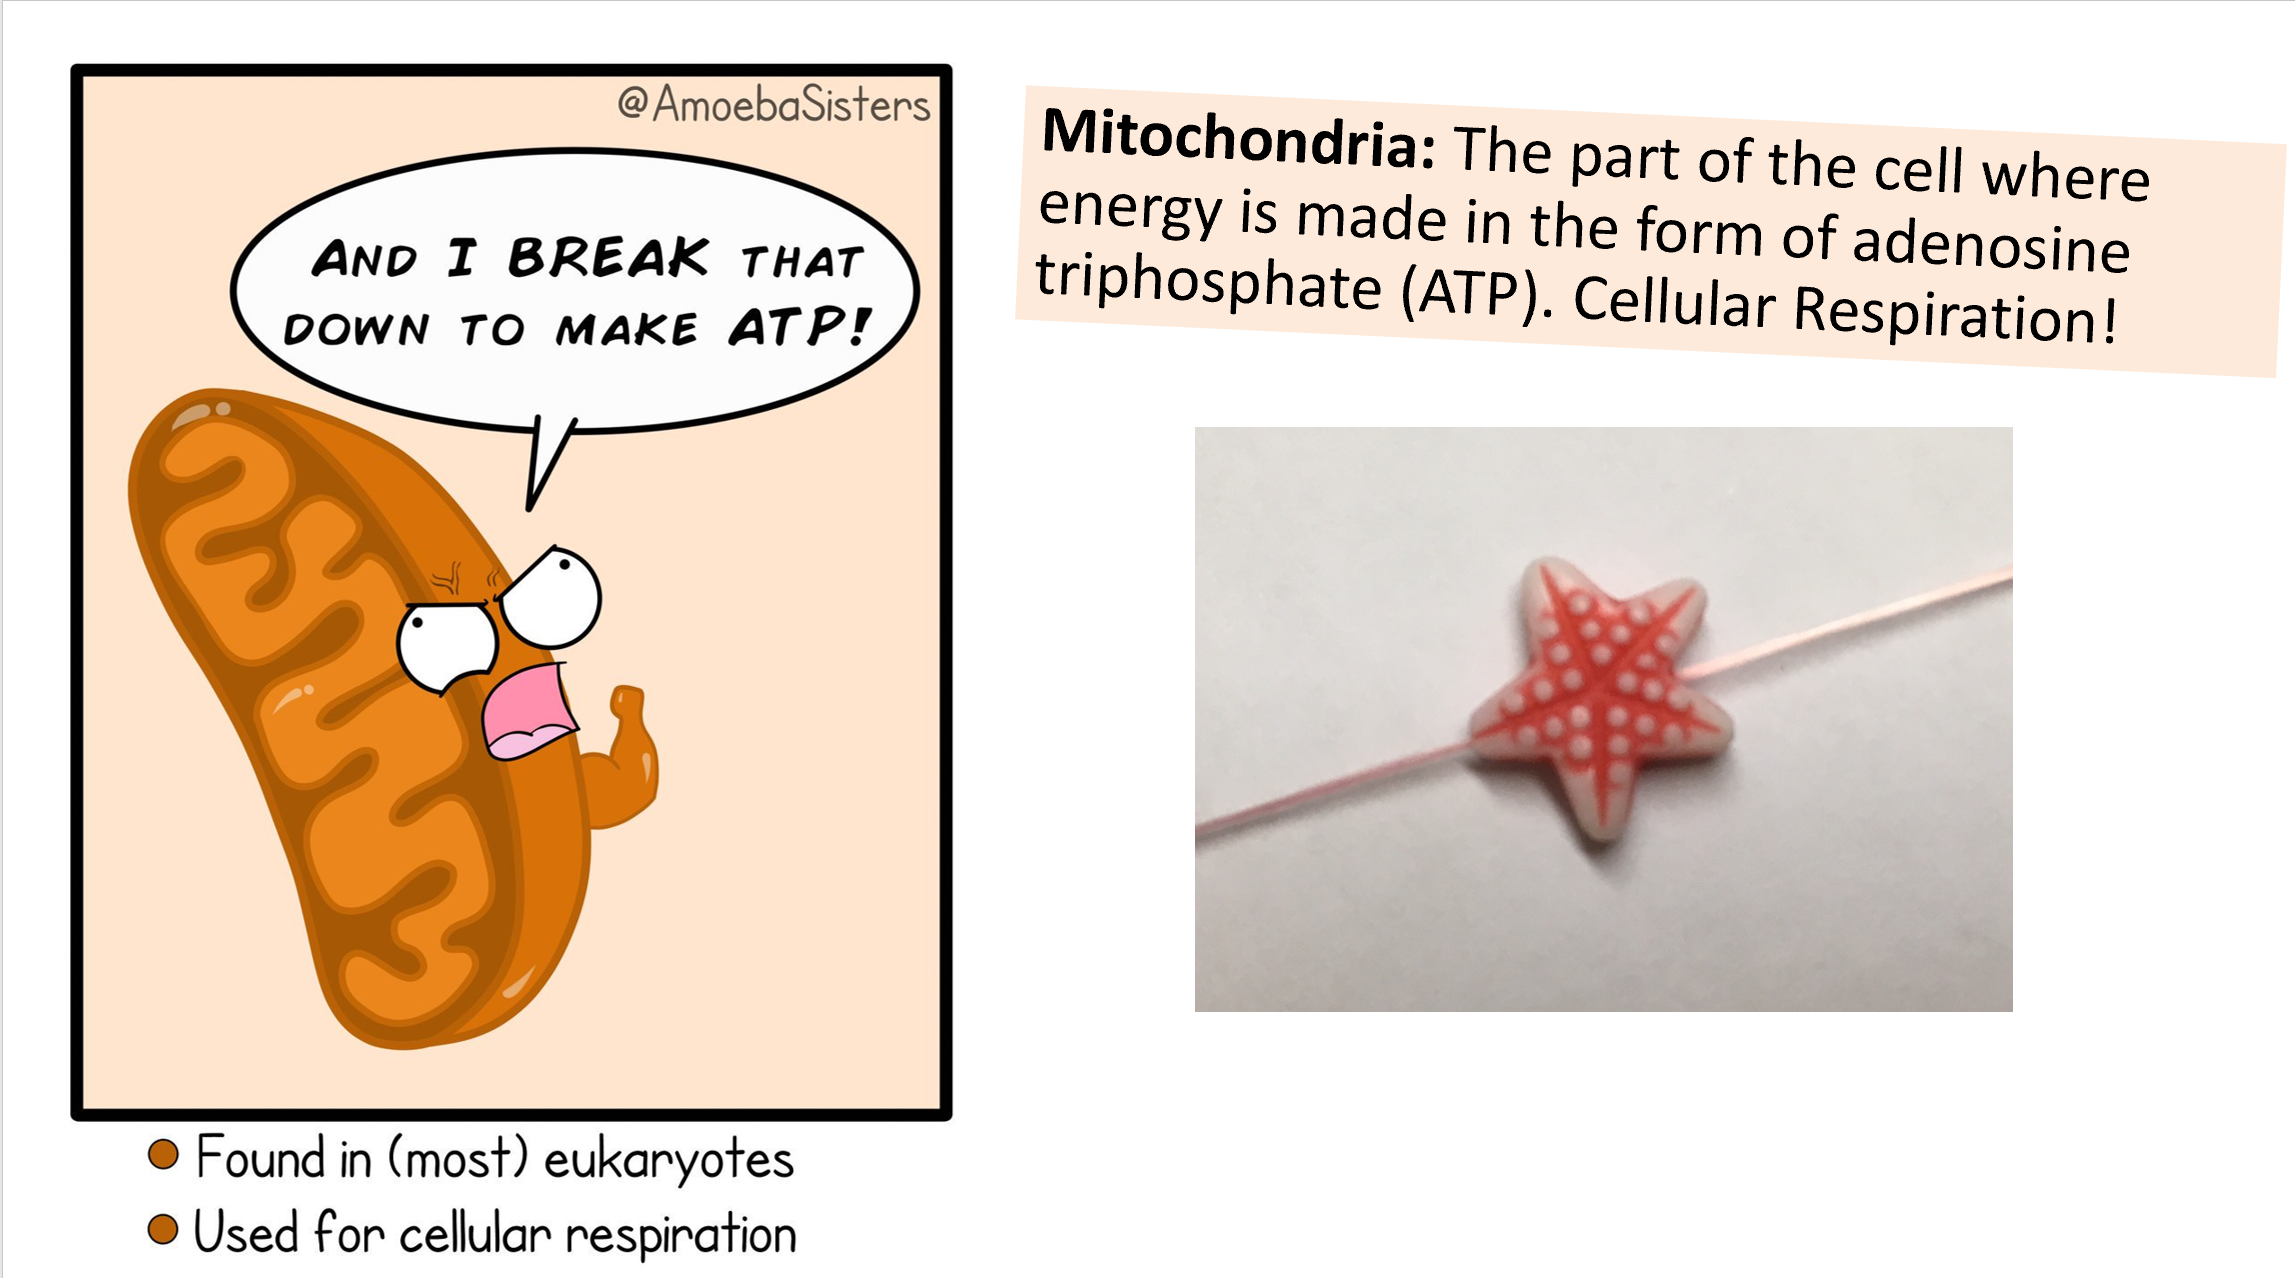
Thank you Amoeba Sisters for the amazing cartoon as always.

This is my bracelet!
Once we’ve gone through the entire process, the picture to the left is the product we ended with. The fun doesn’t quite end there. In true Ms. Lu fashion, no lesson ends without some awesome colours so grab your crayons and your papers and let’s get drawing!!!
We then took our bracelets and drew out the “rough shapes” and colours of our bracelets on a sheet of paper. There’s no use in having a bracelet if we don’t know what each bead means. Students were required to write out each organelle as it matched to its corresponding bead. Then, students were asked to write out how each organelle impacts the other to create our overall “cell as a system”.
Confused? See the whiteboard below. While students were building their bracelets, I wrote down the words they were saying. I then, drew out a bracelet to the quality I expected theirs to be drawn at. See below:
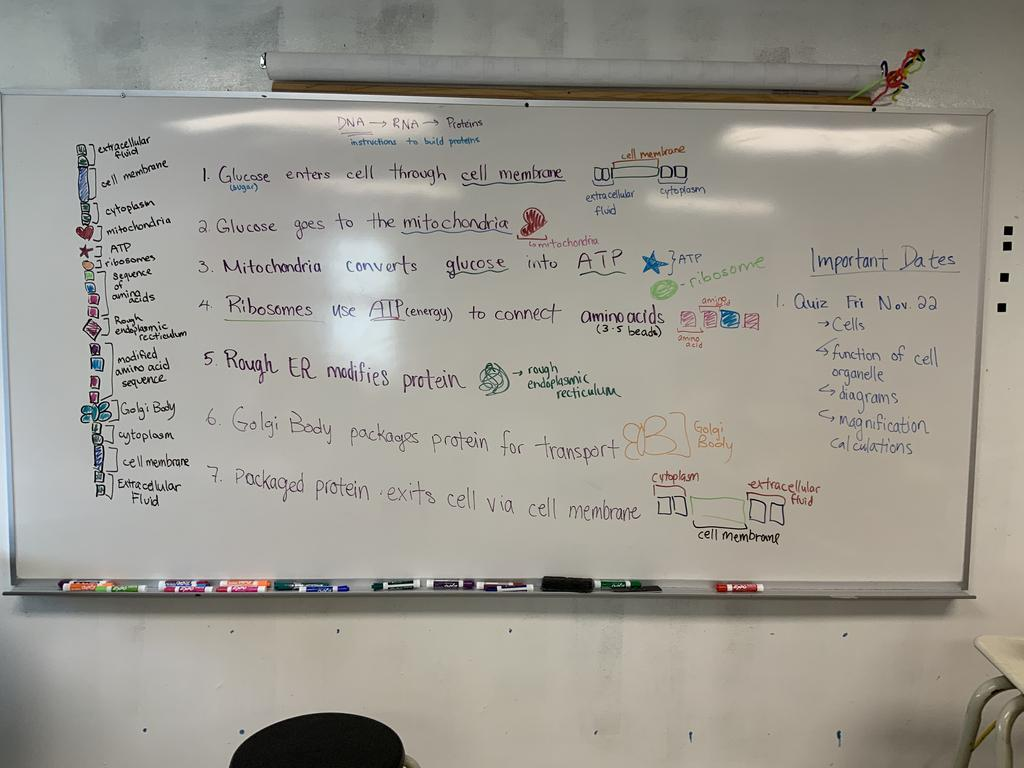
Today’s Whiteboard

This is my OneNote
Alright, that was a lot right? Let’s take a breather. At this point, we’ve had anywhere between 40-50 minutes of activity time and we all need a bit of a cool down, a change in pace. This is about the time where we switch gears, especially in Ms. Lu’s class. Falling behind? No worries, this whiteboard stays as it is for the rest of class. This is where we turn to our electronic binders for some synthesis, slower paced consolidation. This is normally where my class diverges. I have my stronger students who dive RIGHT into their electronic binders and my weaker students who are still working with the whiteboard material and playing a little catch up. Worry not, with my electronic binder, any message I write, gets synced to the students’ notebook in what is known as the “Content Library”. There is a portion of the binder that I hid to prevent you all from knowing my student names, but there are three key pieces to the electronic binder, also known as Class OneNote:
- Collaboration Space–ANY student and/or teacher can view and edit anything in this section (all notes and pages). This is a good space for students to share their notes.
- Content Library–I see this as the “master library” where only the teacher can edit but students can view and copy from. This is where I generally write, give solutions, etc. and students know they can use this as a resource to work through material at their pace
- Personal notebook–this is labelled by student name where only one specific student and the teacher may edit. Think of this as your personal binder for the course, just electronic…
At this point, students know there is probably a synthesis activity in their OneNote or a scaffolded questionnaire to help summarize the information we just discussed. At this point, some students will finish the synthesis and carry on to their homework which is written on our school’s communication platform, Edsby. Other students will ask questions, clear up any misunderstandings and save their homework for well, home. Still confused? Check Edsby! Check your Success Criteria to make sure you’re on track and if that didn’t help you learn, I post videos on every topic we cover. Thank you youtube for your many many many science resources.

Check Edsby folks!
After writing out this lesson, I’ve realized how much my lesson is structured around a running workout. Here’s an average marathon workout (in short): 2-3km warm-up, 12-16km at marathon pace, 2-3km cool down. Here’s the structure of today’s class: small brain warm up (sing, dance, shake it out), review last class/ease into the learning activity, cell bracelet activity, synthesis/brain cool down. I said I was going to hit the pause button the classroom and running posts but clearly I just couldn’t help it. It took writing out my class lesson for me to realize how similar my teaching style is to a run workout. Who knew. I guess now I know…
Questions? Confused? I host science parties Wednesdays at lunch, Fridays during break or by appointment.
Feedback? Other activity ideas? Please let me know 🙂 always open and ready for some new ideas!
I totally used this blog post as an excuse to procrastinate marking.
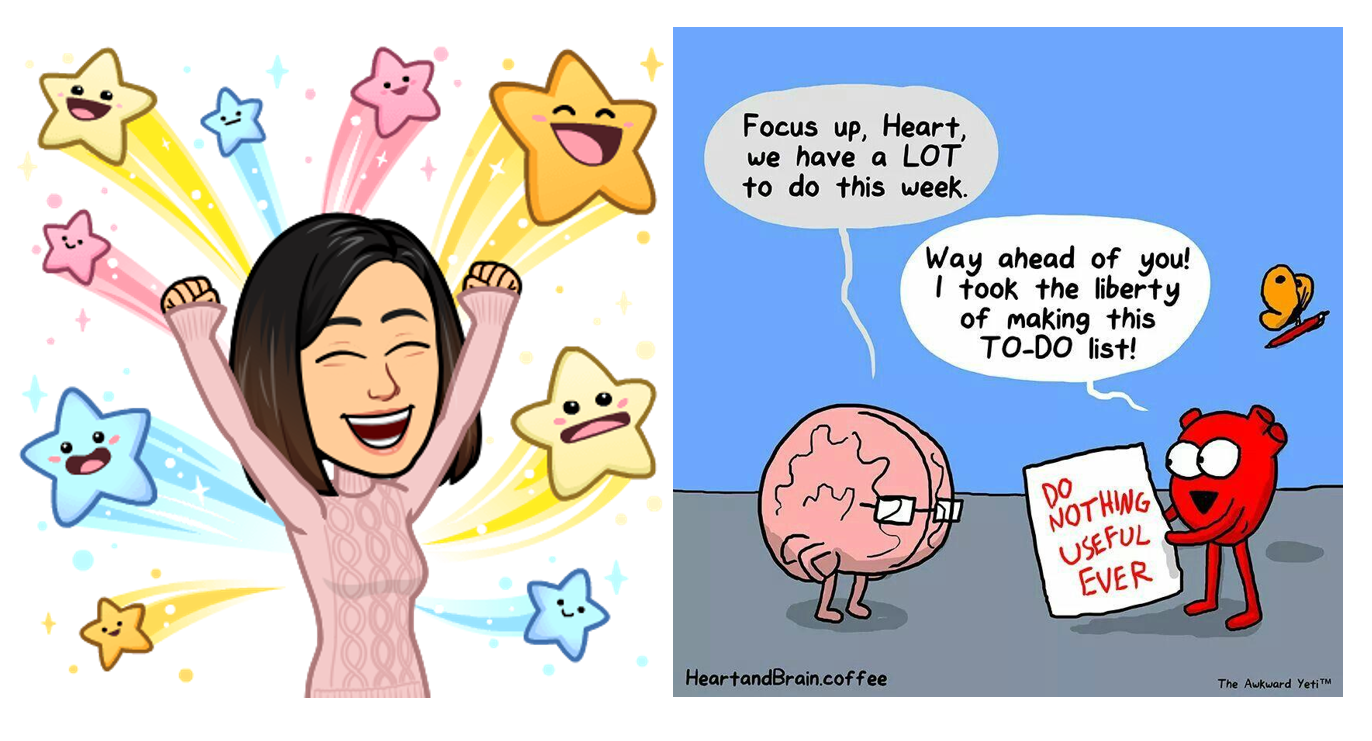
The Awkward Yeti just gets me.
This is just such an awesome idea, but a teacher who is awesome and created an environment where kids feel safe to be themselves, silly and explore. Keep on making scientists. I love this. If you are taking leadership kids to our school in April for the CAIS leadership, let me know. I’d love to meet up and talk “science”
Mary-Ellen